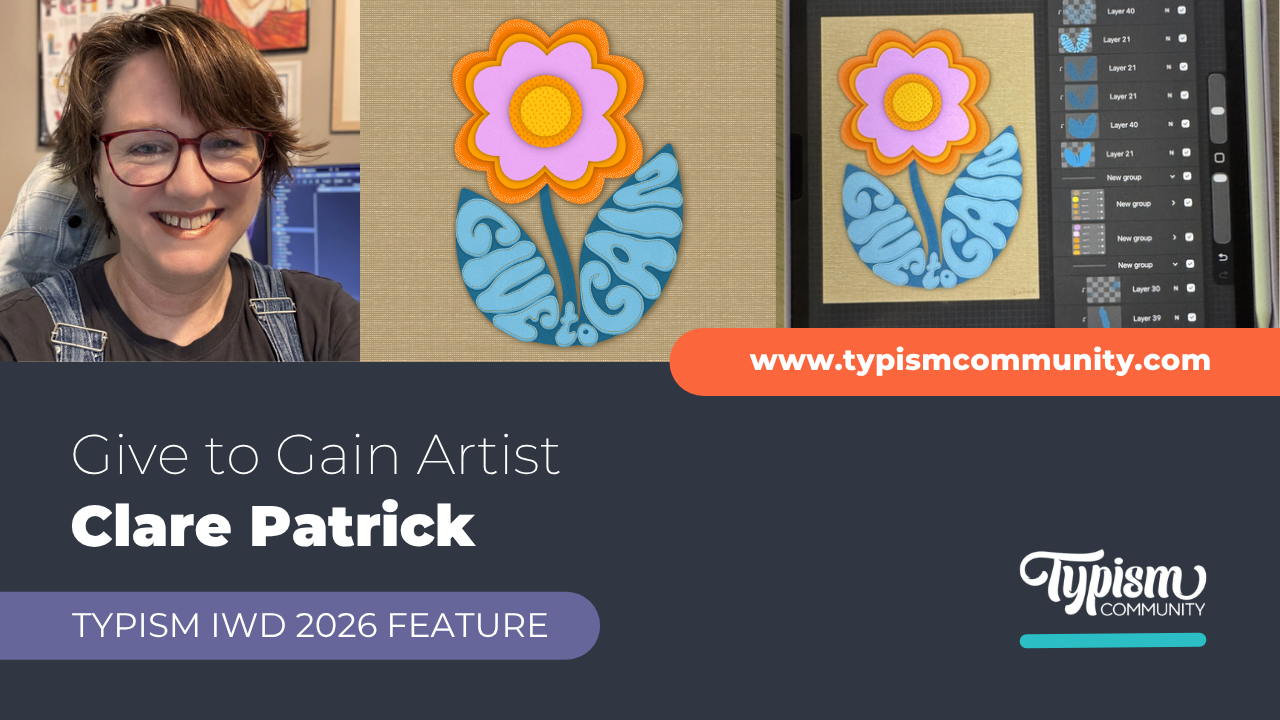
Blackletter Alphabet with Tamer Ghoneim
Mar 19, 2022
The Typism Community is filled with lettering artists who have expertise in a variety of techniques. Our goal with the Typism expert series is to ask some of our favourites to share their signature technique or process with you.
Our second feature expert this year is Tamer Ghoneim from Blackletter Foundry and in this blog post, he will take you step-by-step through his process for creating an easy and versatile Blackletter Alphabet.
Tamer is a professional calligrapher, teacher, and artist from Houston, Texas. He loves calligraphy (especially blackletter styles) and believes that absolutely anyone can learn how to write beautifully and make calligraphic art. Tamer loves working with what he calls his "calligrafriends" out there and helping them reach that moment where they're excited and proud of what they've made. He's also a bit of a comic book, superhero, and sci-fi/fantasy fan.
How did you start out as a lettering artist or designer?
My journey into the lettering arts followed a very indirect path. Looking back, I realize that I was always interested in handwriting. I loved pens and always tried to write neatly—both my mom and dad have neat handwriting and my own evolved from trying to emulate my dad’s style particularly.
My path to becoming a creative professional, though, started with a perhaps unreasonable love of sci-fi and comic books—especially comic book art. In high school, I took one art class that included a very brief introduction to broad nib calligraphy. I really loved the project, but my primary focus was still on figures and comic-style art.
Fast forward through my college years where I would draw to relax and escape, I stumbled into a love of music. I started learning guitar and, because I don’t know how to have casual hobbies or interests, became completely obsessed and eventually became a guitar instructor.
Several years down the road, I finally discovered my passion for ... photography (I wasn’t kidding when I said this was a very indirect path!). Again, I absorbed all of the information I could and travelled every chance I could to photograph my favourite subjects—primarily landscapes and architecture.
While on this meandering journey, I started to realize that my handwriting was really deteriorating—with the new digital age, most of my time was spent typing away on computers. Serendipitously, however, I stumbled on a video of amazing handwriting with a fountain pen—I was hooked. Yet again, I became completely obsessed, eventually discovered all of the amazing possibilities with broad-nib calligraphy, and would spend hours practising each day in every spare moment I could find.
I’ve regularly heard from hundreds of students and calligraphy friends (”calligrafriends” as I like to call us) that they find blackletter-style calligraphy intimidating and don't know how to start. The structure and tools that I have developed make writing a complete blackletter alphabet super easy.
In this mini-tutorial, Tamer will show you how to create a complete lowercase (minuscule) blackletter alphabet using four basic lines. Grab some paper and pens and let's get ready.

Step 1: Get some pens and paper

- The Pilot Parallel pen. It comes in a variety of sizes ranging from 1.5 to six millimeters and is compatible with a wide, the variety of inks. If you're just starting the 2.4 and three millimeter pen sizes are a great place to start. I'll be using the 3.8 and six millimeter pens today. Every parallel pen comes with two in cartridges, one red and one black I'll be using the black one.

- I'll be writing on Strathmore calligraphy paper. I like this paper because it's economical. It does have a slightly rough texture which can add some interesting effects and it holds up well to any guide thrown at it.

- We'll also be using these black letter guidance. I designed these guide sheets to make it super easy to learn black letter calligraphy.

- A light pad is a great tool for using printed guides under your favorite kind of paper.
Step 2: Basic Lines

- We're only going to need four lines
- The FIRST LINE is going to be a simple vertical line that moves straight down from top to bottom.
- The SECOND LINE is going to be a diagonal line, moving down at an angle of around 45 degrees.
- The THIRD LINE is going to be a really thin diagonal line. Follow the angle of the pen and that's what's going to keep the line thin.
- The FOURTH LINE is just a horizontal line and it will move straight horizontal.
Step 3: Guidesheets Overview
- The X height is basically just the height of a letter. Like the letter a or C or E any of those that have a standard height, and don't have any bits that extend up above the top or below the bottom, like with an F or with a G.

- An a ASCENDER would be a letter like the letter B or D or F that has a bit that extends above this X height of a letter.

- The DESCENDER here is for a letter like G, which has a bit that extends below the bottom of the X height line.

- Each one of these boxes is intended to be the size of a standard letter, like A or C or N.
- Each of the red lines is intended to show the width of a line as you're writing.
- I've also included a little dot along the left edge, which will show you where to start for some of the letters.
Step 4: Lowercase Alphabet Tutorial

- To start writing the letter "a", start from this dot here on the side, draw a line vertically straight down. So that's line number one. Then use line number two to come down and connect to the bottom line of the X height So that's line number two. Use line number two again, starting from the top here and pull it diagonally down again and do another line one, pulling it straight down to connect to this bottom, another line number two, that's it. We got an "a"

-
now for the letter "b". Start at the top pulling from the top of the ascender box. I'm going to pull straight down. Like, so until I reached this dash line and I forgot to mention earlier, but I've included this dash line here to give you an idea of where to stop the line and begin the second angle and this also helped keep your ledgers consistent. So again, I pulled a vertical line. This is line number one, and use line number two pull it diagonally down. Now we're going to use line number three to pull up and now line number two, diagonally down and now line number one.

- For a letter "c", start again from the point and draw a line straight down to the dotted line, that's line Number one, line number two at the bottom, line number two again from the top here straight down and that's it. That's a quick and easy "c" to extend it a little further within the box, draw a line number three and pull it up a little bit diagonally.

- for the letter "d", Start at this time from the very top where the top right corner of your pen is touching the top line of the X height and pull straight down again to the dash line. So with line number one draw a diagonal line, to get that "d" look, we're actually going to start a little bit higher, from the top of the ascender box, we're going to start here and pull the diagonal line straight down and pull line number one straight down then quick dab.

-
for the letter "e" start at the dot again. That's on the left line for the character, straight down line number one. Line number two again, just like with the C line number two again, for the E we're just going to do a really tiny space here at the top, so we're going to go line number two till it reaches that right edge of the character box and now we're going to use line number three going backwards and draw a line straight there to get that, just like with the "c" draw t thin little line.

-
now for the "f" we're going to start at the top like we did with the"b". Drag the line all the way down to the dash line,so line number one. Now we're going to use line or stroke Number two pulling it down. Same thing from the top use stroke line number two to pull it down to the right edge. Now for the first time we're going to use stroke line number four.

- for the letter "g" start at the dot, pull it down to the dash line, use line number two diagonal and line number two diagonal again, draw a very long line or stroke one reaching all the way down to the bottom where you can even stop a little ahead. to finish the "g" start the right edge of the pen here, roughly mid of the descender line and just draw the line number two again diagonally down to connect the "g".

- Now for the "h" top of the ascender box, straight down to the dash line, then at the bottom line number two, pull the line number three up diagonally, and it should roughly hit the corner of the red line with the top of the X height box, pull up line number two down diagonally again till the right edge, use line one again and then line two and there we've got an "h"

- Start at the the top and pull a line straight down to the dash line and that is line one for the letter "i", and then line two at the bottom, and for the dot start in the left hand edge and pull a diamond all the way down.

- for the "j" start at the right hand edge, Pull just a single vertical stroke number one or line number one all the way down. start with the right edge and then pull that down to connect the "j" and for the dot start in the left hand edge and pull a diamond all the way down.

- for the letter "k" pull line number one, all the way down from the. Pull line number two diagonally. we want to start roughly here where the dot is. Draw a small line up just till it connects with the top of the X height line straight down. That's it all just until our pen reaches the edge and then come back in with line number three and then where our pen left off, we just want to come with line four horizontally and then again with the line one down to the dash line and then line two again and there we have a K.

- for the "l" draw a line number one straight down to the dash line and then line number two diagonally.

- for the "m" I'm going to start from the top of the X height line. Pull the same vertical line down, That's line one. Now the diagonal line two, then line three. We'll go up to the top, line two again, down until we meet the right edge, then pull line one all the way down to the dash line again then line two and then we're going to repeat that last sequence again identically.

- for the "n" I'm going to start from the top of the X height line. Pull the same vertical line down, That's line one. Now the diagonal line two, then line three. We'll go up to the top, line two again, down until we meet the right edge, then pull line one all the way down to the dash line again then line two.

- for the "o", I'm going to start at the dot vertical line down nine number two, line number two again at the top and line number one.

-
on to the letter "p" starting from the very top this time, not with the dot ,vertical line number one all the way down to the base. Now we're going to use the line three, connect it with the top, line number two diagonal, then we're going to use line number one, this time we're not going to stop at the dash line. We're going to go all the way to the bottom. I'm going to use line number two to connect to the base here of the last line that and there we have our "p"

- for the letter "q" start at the dot, pull it down to the dash line, use line number two diagonal and line number two diagonal again, draw a very long line or stroke one reaching all the way down to the bottom where you can even stop a little ahead.

- for the "r" I'm going to start from the top of the X height line. Pull the same vertical line down, That's line one. Now the diagonal line two, then line three. We'll go up to the top, line two again.

-
Moving on to the letter "s" we're going to draw a line from the top, just to roughly the midway point of our X height box, use a similar version to line number three, the horizontal line with the corner of the pen, start roughly from the mid point here from the edge, and then draw a line all the way across, start again from roughly where you ended with the horizontal line, draw line number one, coming down to the dot to finish it off then from the corner of the dash line using the bottom left corner of my pen and then draw line number three and then line number two now you have a snazzy black letter "s".

- for "t" we're just going to start at the very top of the ascender box and pull it straight down to the dash line that's line number one and then line number two and then we're going to use line number four, just like we did with the "f" pull it straight across.

- We'll do a letter "u" starting from the very top of the X height come straight down, . Stroke two going to do the same thing on the side and a stroke One down to the dash line, and then we're going to use line number two again.

- for the letter "v" starting from the very top of the X height come straight down, . Stroke two going to do the same thing on the side then a stroke One down to the dash line.

- for the "w" starting from the very top of the X height come straight down, . Stroke two going to do the same thing on the side and a stroke One down to the dash line, and then we're going to use line number two again then pull one more vertical line down to be extra fancy with the "w" you can even draw a little line four in the middle.

- for the "x", we're going to start at the top and draw a horizontal line, here at the top, next we're going to use line number one, so this was stroke four, we're going to use the stroke one to pull it down to the dash line. Now we're going to use stroke to pull it down to the bottom of the X height line, with the bottom left corner of the pen at the dash line, we're going to pull stroke number two down, then stroke three, pull it up to the top and then stroke two again diagonal then throw in horizontal line for stroke four in the middle.

-
for the "y" straight down from the top that's the line one, line two then line one all the way down to the bottom then line two.

- with the letter "z" start from the dot, pull a line up, draw straight across stroke four now, stroke three again, down to the left edge of the character box then pull another horizontal line all the way to the edge again, draw a line number one all the way down to the bottom the draw line number two and connect it.
Watch Tamer's video below to see the process in action.
Now that you know how to write the basic blackletter alphabet, the sky’s the limit once you’re comfortable with writing these basic letters! You can have endless fun exploring colour blending, branching into writing blocks of text, making art from individual words or even letters, bending your favourite quotes into geometric shapes like circles or calligraphic pretzels, and even deconstructing the letters into abstract styles and illustrations.
If you want to learn more lettering tips from Tamer, check out these worksheets and workshops below.
Stay connected with news and updates!
Join our mailing list for the latest updates about Typism Summits, Books, Membership News, and the Latest Lettering Challenges.
We hate SPAM. We will never sell your information, for any reason.